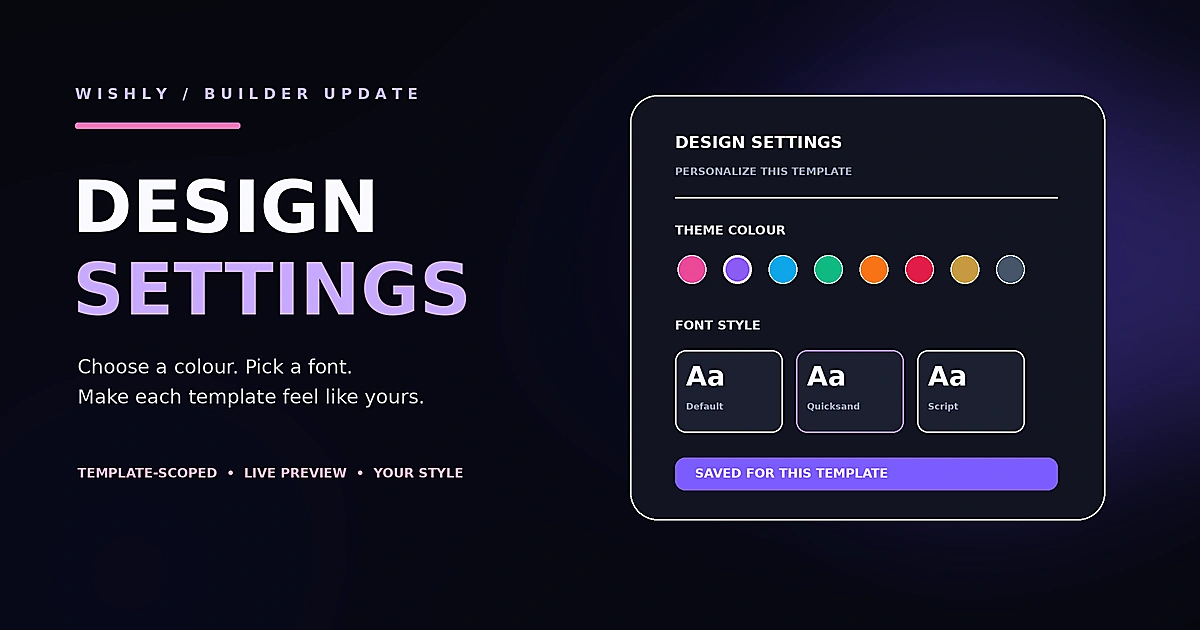
A step-by-step guide to Wishly design settings: choose a color preset, set a custom HEX color, select a font and preview the changes for the template you are editing.
Open the design settings
Wishly includes design settings for supported templates, so you can adjust the appearance without rebuilding the page. First open the website you want to edit in the Builder.
- On desktop: open Settings from the Builder toolbar.
- On a phone: tap Settings in the bottom toolbar. In some layouts, open More (⋯) and choose Design settings.
Choose a color style
Choose one of the available color presets to apply a coordinated palette. If you have a specific color in mind, use the color picker to enter a custom HEX value. A HEX color usually looks like #7657E8: the hash is followed by six letters or numbers.
When selecting a color, keep readability in mind. A pale text color on a pale background can be difficult to read, especially on a phone in bright daylight. Preview the key headings, buttons and body text before saving your choice.
Select a font
Choose from the font options shown in the settings panel. The available choices include Original, Quicksand, Dancing Script, Bubblegum Sans, Comic Neue and Caveat. Each font has a different personality: a script style may suit a short accent line, while a simple sans-serif may be easier to read for longer messages.
Use decorative typography in moderation. The main message should remain clear, and the chosen font should support the mood rather than compete with the words.
Preview your choices
The editor lets you see design changes as you work. Check the main heading, paragraphs, buttons and any special sections. Then switch to Preview to experience the page without editing controls. Review it at a mobile width as well as on desktop.
A practical design checklist
Before publishing, look at the page as if you were the person receiving it. The first heading should explain the occasion, the main message should be easy to find, and decorative details should support rather than distract from the story. Use one primary accent color and, where the template allows it, a quieter supporting color. Repeating the same small set of colors helps buttons, highlights and section headings feel connected.
- Check contrast: make sure text remains readable over photos, gradients and colored panels.
- Keep type consistent: use a decorative font for a short heading or accent, not for every paragraph.
- Give content room: avoid long blocks of text and very tight spacing, especially on a phone.
- Review buttons: confirm that interactive labels are clear and that the important action stands out.
A useful method is to make one change at a time. Choose a palette, preview it, then test a font. If you change several settings at once, it becomes harder to tell which choice improved or weakened the design. Save only after you have checked the whole page, not just the opening section.
Design mistakes to avoid
Too many accent colors can make a personal page feel busy. Several decorative fonts can reduce readability, while low-contrast text may disappear against a photo. Large paragraphs can also make a page feel difficult to read on smaller screens. Keep the focus on the message: a few meaningful images, clear headings and consistent spacing usually create a stronger result than adding effects to every section.
Understand template-specific settings
Theme and font preferences are stored for the template you are editing. Changing the design of one website does not automatically apply the same colors and fonts to every other website. This helps each experience keep its own visual identity.
Also remember that not every template has the same layout or controls. If you cannot find a particular design option, check the selected template and its guide before assuming the feature is missing from your account.
Explore the complete feature set
See the Wishly feature guide for an overview of the visual editor, media tools, previews and publishing workflow.